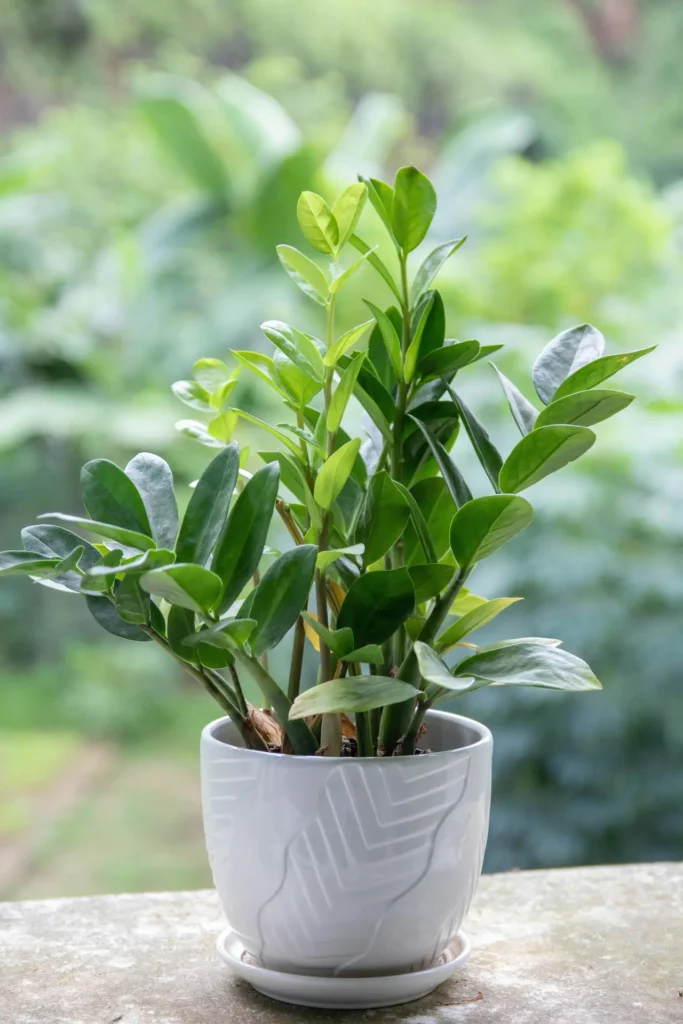
The ZZ plant, scientifically known as Zamioculcas zamiifolia, has become a popular choice for plant enthusiasts, and it’s easy to see why. With its glossy, dark green leaves and ability to thrive in low light, the ZZ plant is both beautiful and resilient. If you’re looking to expand your collection or share this hardy plant with friends, propagating it is a great option. In this guide, we’ll walk you through everything you need to know about ZZ plant propagation, covering different methods, tips for success, and common pitfalls to avoid.
Why Propagate a ZZ Plant?
Before diving into the methods of ZZ plant propagation, it’s essential to understand why you might want to propagate your plant. Propagation is the process of creating new plants from existing ones, and it offers several benefits:
- Expand Your Collection: If you love the look of the ZZ plant, propagating it allows you to grow more without buying additional plants.
- Gift to Friends: A propagated ZZ plant makes for a thoughtful and inexpensive gift.
- Healthy Plant Management: Propagation can help manage an overgrown plant and rejuvenate an older specimen.
Whether you’re a beginner or an experienced plant parent, propagating a ZZ plant is a rewarding process that adds to the joy of indoor gardening.
Methods of ZZ Plant Propagation
ZZ plant propagation can be done in several ways: leaf cuttings, division, and stem cuttings. Each method has its own set of steps and considerations.
1. Leaf Cuttings
Propagating ZZ plants from leaf cuttings is one of the most common methods, though it requires patience. Here’s how you can do it:
Materials Needed:
- A healthy ZZ plant
- A sharp knife or scissors
- Small pots or containers
- Well-draining potting mix
- Optional: rooting hormone
Steps:
- Select a Healthy Leaf: Choose a mature, healthy leaf from your ZZ plant. It should be dark green and free from any signs of damage or disease.
- Cut the Leaf: Using a sharp knife or scissors, cut the leaf off at the base. Ensure the cut is clean to prevent any damage or infection.
- (Optional) Dip in Rooting Hormone: Dipping the cut end of the leaf in rooting hormone can help speed up the rooting process, but it’s not essential.
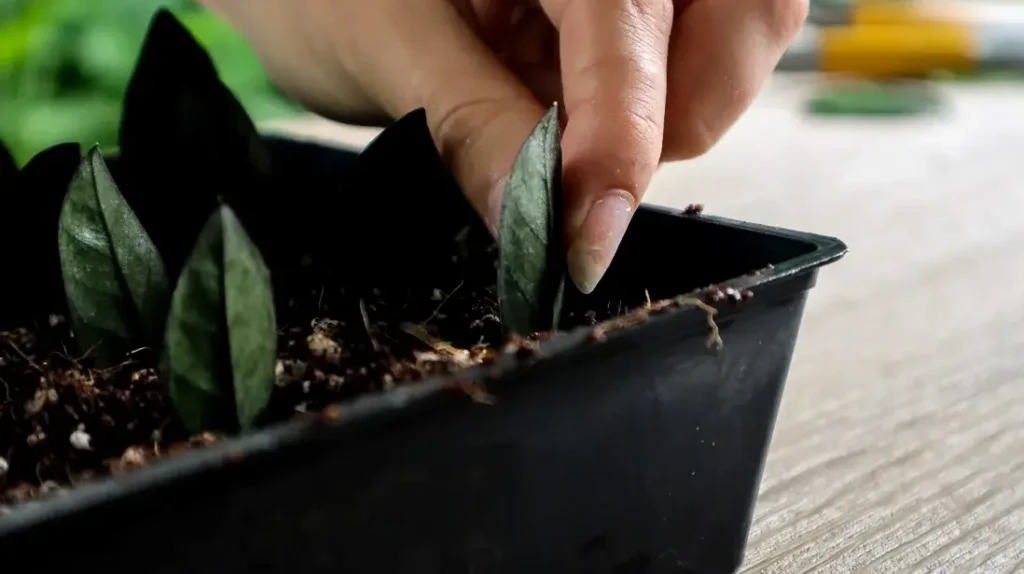
- Plant the Leaf: Fill a small pot or container with well-draining potting mix. Insert the cut end of the leaf into the soil, burying it about an inch deep.
- Water Lightly: Water the soil lightly to keep it moist, but avoid overwatering as ZZ plants are prone to rot.
- Wait: Place the pot in a warm, indirect light location. Root development can take several weeks to months, so patience is key.
Pros:
- Simple and requires minimal materials
- Can propagate multiple plants at once
Cons:
- Slow process; may take several months for noticeable growth
2. Division
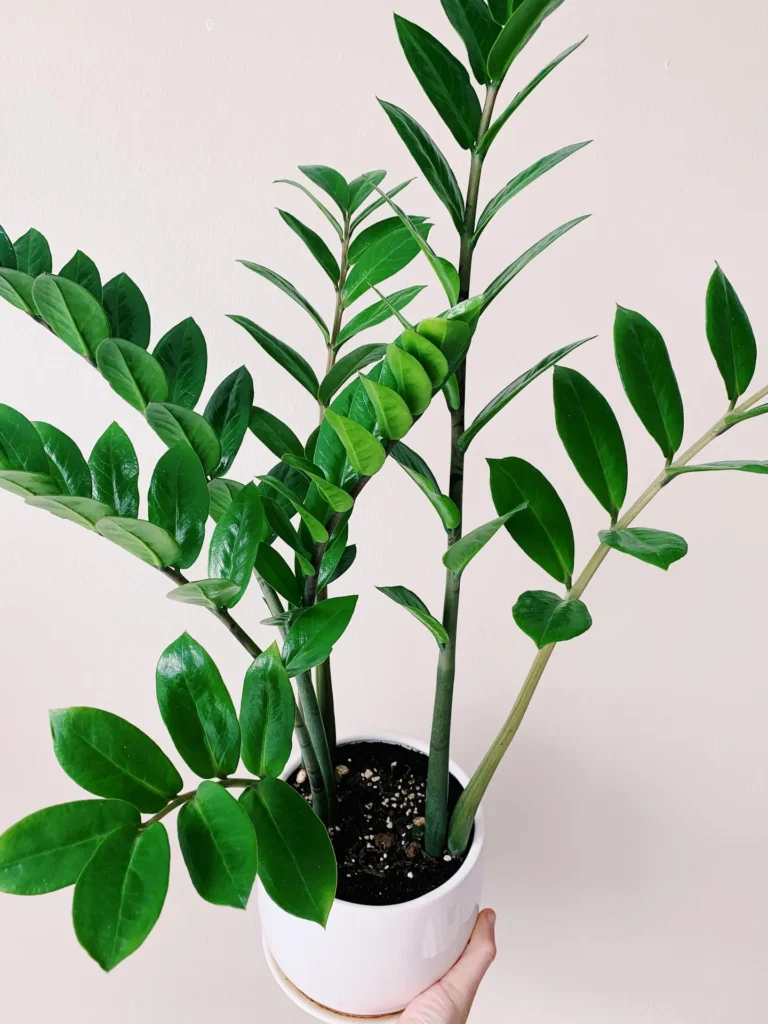
Division is the quickest method for ZZ plant propagation and is ideal for mature plants with multiple stems or rhizomes.
Materials Needed:
- A mature ZZ plant
- A sharp knife or garden shears
- Pots and potting mix
Steps:
- Remove the Plant from the Pot: Gently remove your ZZ plant from its pot and shake off excess soil to expose the roots and rhizomes.
- Identify Rhizomes: Look for natural divisions in the plant where stems or rhizomes are separate. Rhizomes are the thick, potato-like structures beneath the soil.
- Divide the Plant: Using a sharp knife, carefully cut between the rhizomes, ensuring that each section has at least one stem and some roots.
- Repot: Place each divided section into a new pot filled with well-draining potting mix. Water lightly.
- Care Post-Division: Keep the newly potted divisions in a warm spot with indirect light. Water sparingly until new growth is visible.
Pros:
- Quick and effective
- Immediate results with new plants
Cons:
- Requires a mature plant with multiple rhizomes
3. Stem Cuttings
Stem cuttings are another effective method for propagating ZZ plants and offer a faster alternative to leaf cuttings.
Materials Needed:
- A healthy ZZ plant
- Sharp scissors or a knife
- A container or jar
- Water or potting mix
Steps:
- Choose a Healthy Stem: Select a healthy stem with multiple leaves.
- Cut the Stem: Cut the stem near its base, ensuring a clean cut.
- Root in Water or Soil:
- Water Method: Place the cutting in a jar of water, submerging the cut end. Change the water weekly.
- Soil Method: Insert the cutting into a pot filled with well-draining potting mix.
- Wait for Roots: If rooting in water, wait until you see roots developing (usually a few weeks) before transferring the cutting to soil. If rooting in soil, keep the soil slightly moist and wait for new growth.
- Care Post-Rooting: Once rooted, treat the cutting like a regular ZZ plant, keeping it in indirect light and watering sparingly.
Pros:
- Faster than leaf cuttings
- Can visually monitor root development if using water
Cons:
- Success rate may vary depending on the method
Tips for Successful ZZ Plant Propagation
While ZZ plant propagation is relatively straightforward, keeping a few tips in mind can increase your chances of success:
- Patience is Key: ZZ plants are slow growers, and this extends to propagation. It can take months to see significant growth, so don’t be discouraged if progress is slow.
- Proper Light: Place your propagating cuttings in a spot with bright, indirect light. Avoid direct sunlight, as this can damage the new plants.
- Avoid Overwatering: ZZ plants are drought-tolerant and prefer to be on the drier side. Overwatering can lead to rot, especially during the propagation process.
- Use the Right Soil: A well-draining potting mix is essential to prevent water from sitting in the soil, which can cause rhizome rot.
- Clean Tools: Always use clean, sharp tools to make cuts. This reduces the risk of introducing diseases to the plant.

Troubleshooting Common Propagation Issues
Propagation is not always a foolproof process, and even experienced gardeners may encounter issues. Here are some common problems and how to address them:
- Leaf Yellowing: If the leaves start to yellow, it could be a sign of overwatering. Allow the soil to dry out between waterings.
- No Root Development: If roots aren’t forming, it may be due to insufficient light or temperatures that are too low. Ensure the propagation area is warm and well-lit.
- Rotting Cuttings: Rotting usually occurs due to excessive moisture. Use a well-draining soil mix and avoid watering too frequently.

Conclusion
Propagating ZZ plants is a fantastic way to grow your indoor jungle or share your love of plants with others. While it requires patience, the reward of seeing new growth from a single leaf or cutting is incredibly satisfying. Whether you opt for leaf cuttings, division, or stem cuttings, each method offers a unique way to multiply your ZZ plant collection. Remember to provide the right conditions—indirect light, well-draining soil, and proper watering—and you’ll be well on your way to propagating this resilient and beautiful houseplant.
So, get ready to roll up your sleeves, grab your scissors, and start your ZZ plant propagation journey today!

Leave a Reply