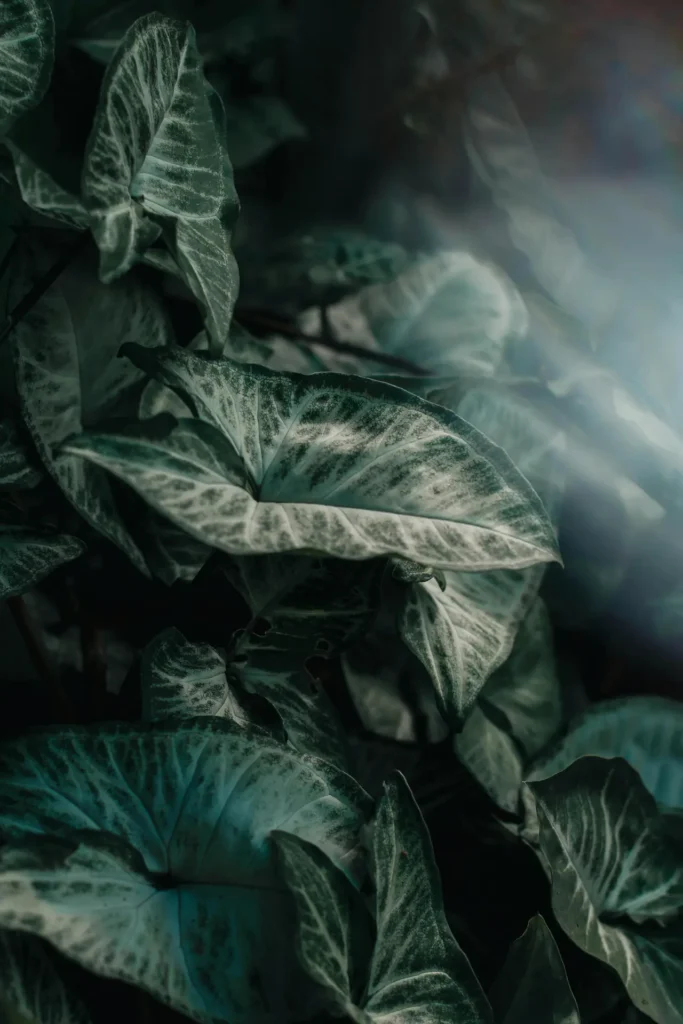
If you’re a plant enthusiast like me, you’ve probably fallen in love with the stunning and exotic Alocasia. Known for its large, arrow-shaped leaves with intricate veining, this plant is a showstopper in any indoor garden. The good news is, if you have an Alocasia and want more, propagation is an accessible way to expand your collection without buying new plants.
In this guide, I’ll walk you through everything you need to know about propagating Alocasia plants. Whether you’re new to propagation or looking to refine your technique, this guide will give you the confidence and knowledge to grow more of these beautiful plants from the ones you already have.
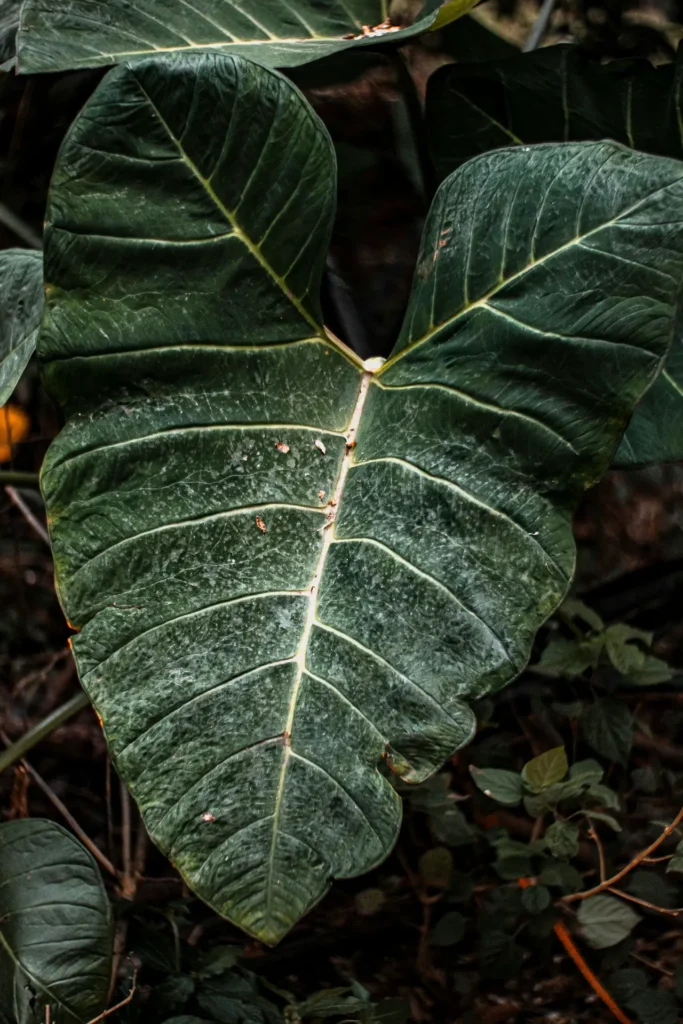
Understanding Alocasia Growth and Structure
Before we get into the specifics of propagation, it’s essential to understand how Alocasia plants grow. Alocasias are part of the Araceae family and are native to tropical regions of Asia and Australia. They grow from rhizomes, which are thick, underground stems that store energy and nutrients for the plant.
These rhizomes not only support the plant’s growth but also play a crucial role in propagation. Alocasia plants are relatively fast-growing under the right conditions, which makes them ideal candidates for division and propagation.

Methods of Alocasia Propagation
There are several methods for propagating Alocasia plants, each with its own set of steps and considerations. The most common and reliable method is through division, but you can also propagate using corms or seeds. Let’s explore each method in detail.
Propagation by Division
Propagation by division is the most straightforward and reliable method for Alocasias. This method involves separating a part of the plant, including its rhizomes, to grow a new plant. It’s best to perform division during the plant’s active growing season, usually in spring or early summer, when the plant is most resilient and capable of regrowth.
Step-by-Step Guide to Propagation by Division
- Prepare Your Tools and Workspace:
- Before you begin, gather a clean, sharp knife or garden shears, a new pot with well-draining soil, and gloves if you prefer.
- Make sure your tools are sterilized to prevent the spread of any diseases.
- Remove the Alocasia from Its Pot:
- Gently remove the plant from its pot by tipping it on its side and carefully pulling it out. You may need to loosen the soil around the edges to make this easier.
- Examine the Root Ball:
- Once the plant is out of its pot, gently shake off the excess soil to expose the roots and rhizomes.
- Look for natural divisions in the root ball. These divisions are areas where the plant has naturally separated into sections, each with its own roots and shoots.
- Divide the Rhizomes:
- Using your knife or shears, carefully cut through the rhizomes to separate the plant into smaller sections. Each section should have at least one healthy rhizome and a few leaves attached.
- Be gentle to avoid damaging the roots or rhizomes, as this can slow down the plant’s recovery.
- Pot the New Sections:
- Place each divided section into its own pot with fresh, well-draining soil.
- Water the newly potted plants thoroughly but ensure they are not waterlogged. The soil should be evenly moist.
- Aftercare:
- Place the newly potted plants in a warm, humid environment with bright, indirect light.
- Avoid direct sunlight, as the newly divided plants are more susceptible to stress and sunburn.
- Keep the soil moist, and after a few weeks, you should see signs of new growth.

Propagation from Corms
Alocasia plants sometimes produce small, bulb-like structures called corms, which can be used for propagation. Corm propagation is a bit slower than division but can be an exciting way to grow new plants.
Step-by-Step Guide to Propagation from Corms
- Locate the Corms:
- When repotting or dividing an Alocasia, you may find small corms attached to the rhizomes or in the soil. These are the propagating units.
- Separate the Corms:
- Gently remove the corms from the parent plant. If they’re small or underdeveloped, it’s best to leave them attached to the parent plant until they grow larger.
- Prepare for Planting:
- Place the corms in a pot with a light, well-draining soil mix. You can also use a propagation medium like sphagnum moss or perlite to encourage root growth.
- Position the corms just under the soil surface, ensuring they are lightly covered but not buried too deep.
- Create the Right Environment:
- Keep the corms in a warm, humid place. You can cover the pot with a plastic bag or place it in a propagation dome to maintain high humidity levels.
- Patience and Care:
- Water sparingly but consistently, ensuring the soil is moist but not soggy.
- Corms can take several weeks to several months to sprout, so patience is key.
- Once the corms sprout and develop small leaves, you can gradually acclimate them to normal growing conditions.
Propagation from Seeds
Although less common and more time-consuming, Alocasia plants can also be propagated from seeds. This method is more suited for experienced gardeners or those interested in experimenting.
Step-by-Step Guide to Propagation from Seeds
- Obtaining Seeds:
- Alocasia seeds are typically obtained from a mature plant that has flowered and produced seed pods. This process can be tricky and requires specific conditions to induce flowering.
- Preparing the Seeds:
- Once you have seeds, soak them in water for 24 hours to soften the seed coat and encourage germination.
- Sowing the Seeds:
- Plant the seeds in a shallow tray filled with a well-draining seed starting mix. Cover them lightly with soil and mist the surface to keep it moist.
- Provide the Right Conditions:
- Place the tray in a warm, humid environment with indirect light. Maintaining consistent moisture and warmth is crucial for seed germination.
- Wait for Germination:
- Alocasia seeds can take several weeks to germinate. During this time, continue to keep the soil moist and provide good airflow to prevent mold.
- Transplanting Seedlings:
- Once the seedlings have developed a few leaves, they can be carefully transplanted into individual pots and cared for as young plants.

Caring for Newly Propagated Alocasia Plants
After successfully propagating your Alocasia, it’s essential to provide the right care to ensure your new plants thrive. Here are some tips for aftercare:
Light and Temperature
- Place the newly propagated plants in a spot with bright, indirect light. Avoid direct sunlight, which can cause stress and damage to the young plants.
- Keep the temperature consistent, ideally between 65°F and 80°F. Avoid placing the plants near drafts or air conditioning vents.
Watering and Humidity
- Water the new plants regularly, keeping the soil moist but not waterlogged. Overwatering can lead to root rot, especially in newly propagated plants.
- Maintain high humidity levels, which Alocasia plants love. You can use a humidifier, a pebble tray, or mist the plants regularly.
Monitoring Growth
- Keep an eye on your new plants for signs of growth or stress. If you notice yellowing leaves or wilting, adjust the care routine accordingly.
- Be patient—newly propagated plants may take some time to establish themselves and start growing vigorously.
Common Propagation Challenges and Troubleshooting
Like all plant propagation, growing new Alocasias can come with its challenges. Here are some common issues and how to address them:
Slow or No Growth
If your newly propagated plant isn’t showing signs of growth, it may be due to insufficient light, low humidity, or improper watering. Ensure the plant has adequate light and moisture, and be patient.
Root Rot
Overwatering can lead to root rot, especially in young plants. Make sure your pots have proper drainage, and only water when the top inch of soil is dry.
Yellowing Leaves
Yellowing leaves can indicate several issues, including overwatering, under-watering, or low light. Assess your plant’s environment and adjust its care routine as needed.
Final Thoughts
Propagating Alocasia plants is a rewarding and exciting way to expand your indoor garden. Whether you’re using division, corms, or seeds, each method has its own charm and challenges. With patience and care, you can successfully grow new Alocasia plants to enjoy in your home or share with fellow plant lovers. Happy propagating!

Leave a Reply