Alocasia is a genus of stunning tropical plants that have become increasingly popular as houseplants. Known for their bold foliage and unique patterns, Alocasias bring a touch of the exotic to any indoor garden. However, while they are admired for their beauty, they also have a reputation for being a bit challenging to care for. This comprehensive guide will walk you through everything you need to know about Alocasia care, from choosing the right species for your home to ensuring it thrives year-round.
Understanding Alocasia: Types and Characteristics
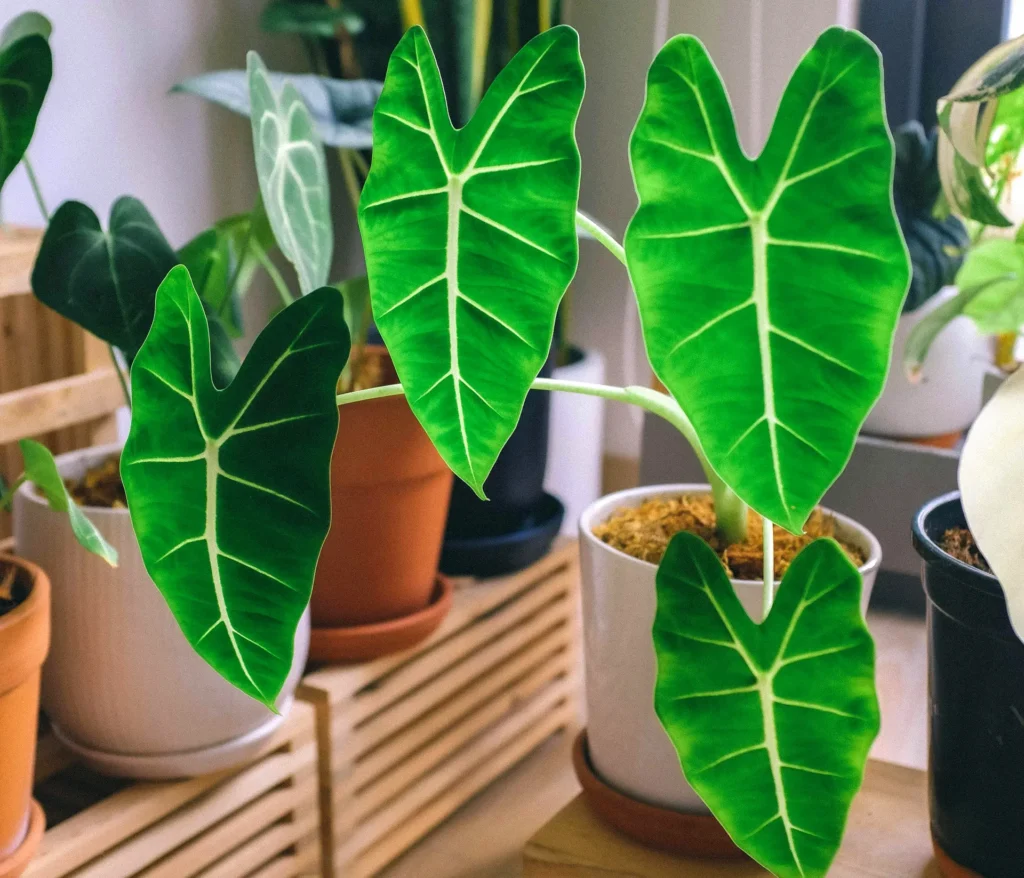
Alocasia is a diverse genus that includes over 70 species, each with its own unique characteristics. They are native to tropical regions of Asia and Eastern Australia, where they grow in humid, shaded environments. While they can be grown outdoors in suitable climates, they are often kept as indoor plants in cooler regions.
1. Popular Alocasia Varieties
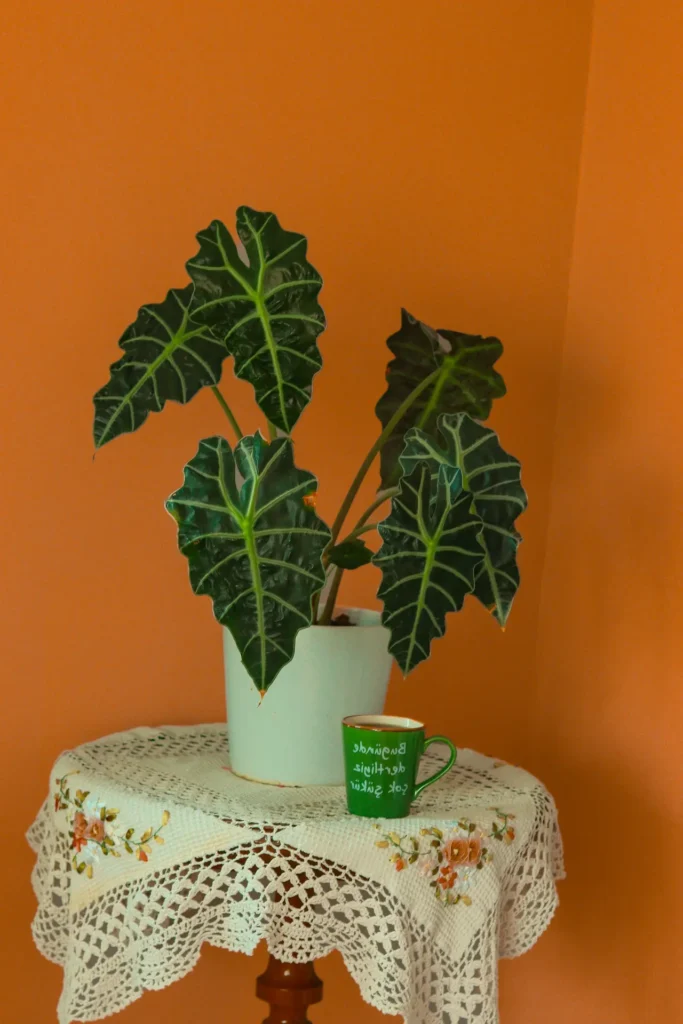
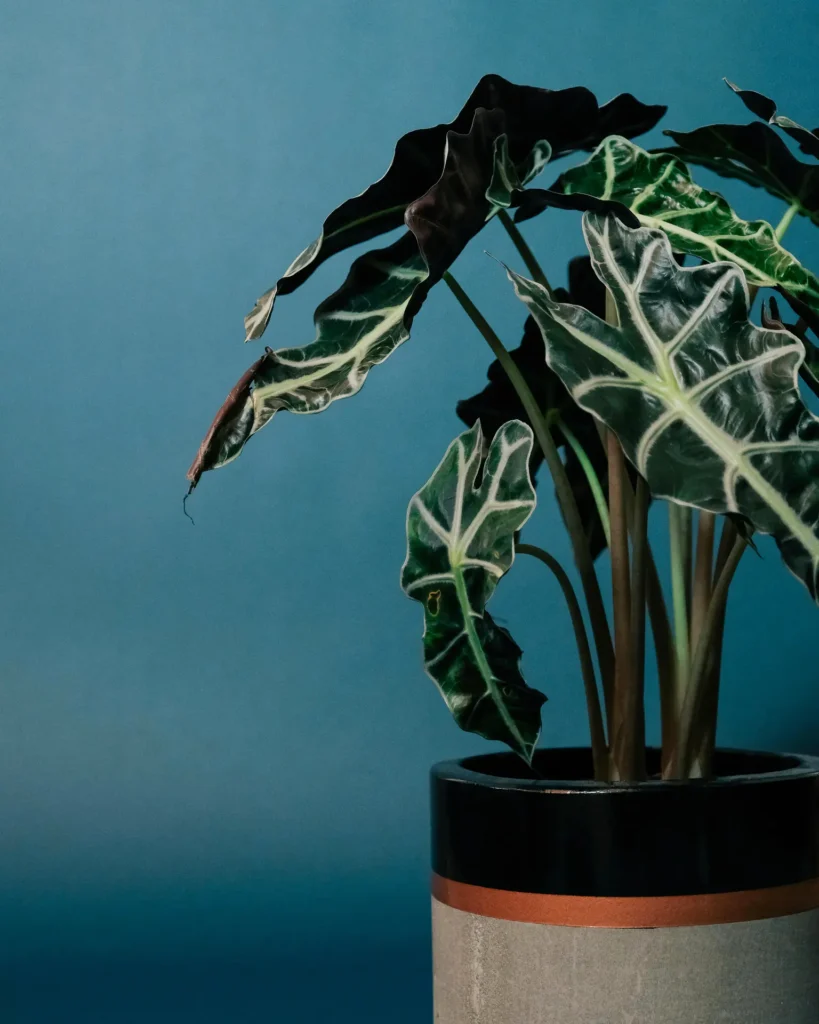
- Alocasia Amazonica: One of the most popular varieties, Alocasia Amazonica has dark green, shield-shaped leaves with prominent white veins, creating a striking contrast.
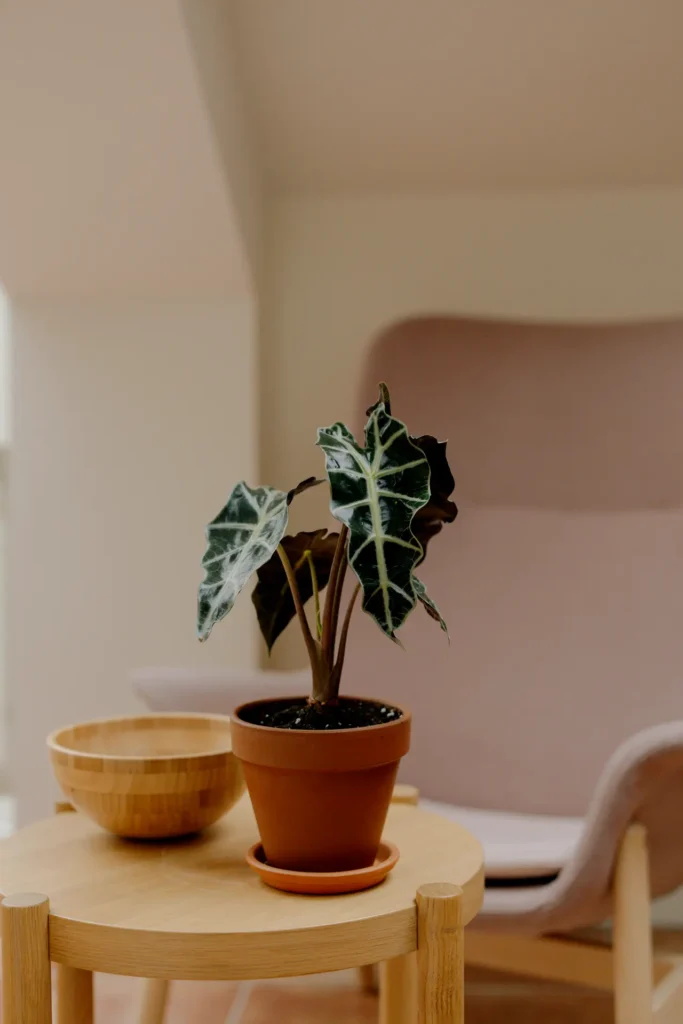
- Alocasia Polly: A compact version of Alocasia Amazonica, Polly is known for its manageable size and equally dramatic foliage.
- Alocasia Zebrina: This variety is famous for its unique, zebra-striped stems and large, arrow-shaped leaves. It’s a favorite for adding a touch of the wild to indoor spaces.
- Alocasia Reginula (Black Velvet): As the name suggests, this variety features dark, velvety leaves with silvery veins, making it a visually stunning plant that’s perfect for smaller spaces.
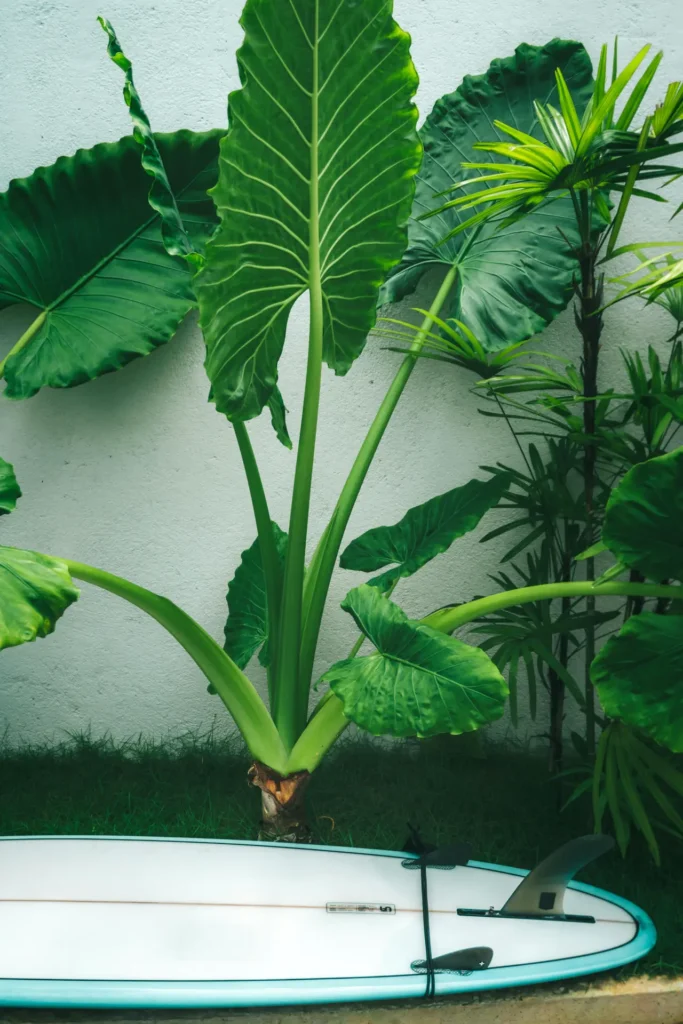
- Alocasia Macrorrhiza (Giant Taro): Known for its large size, this variety can grow quite tall with broad, glossy leaves that resemble elephant ears, making it a showstopper in any collection.
Each variety has its own unique appeal, but they all share some common care requirements that are essential for their health and growth.
Light Requirements for Alocasia
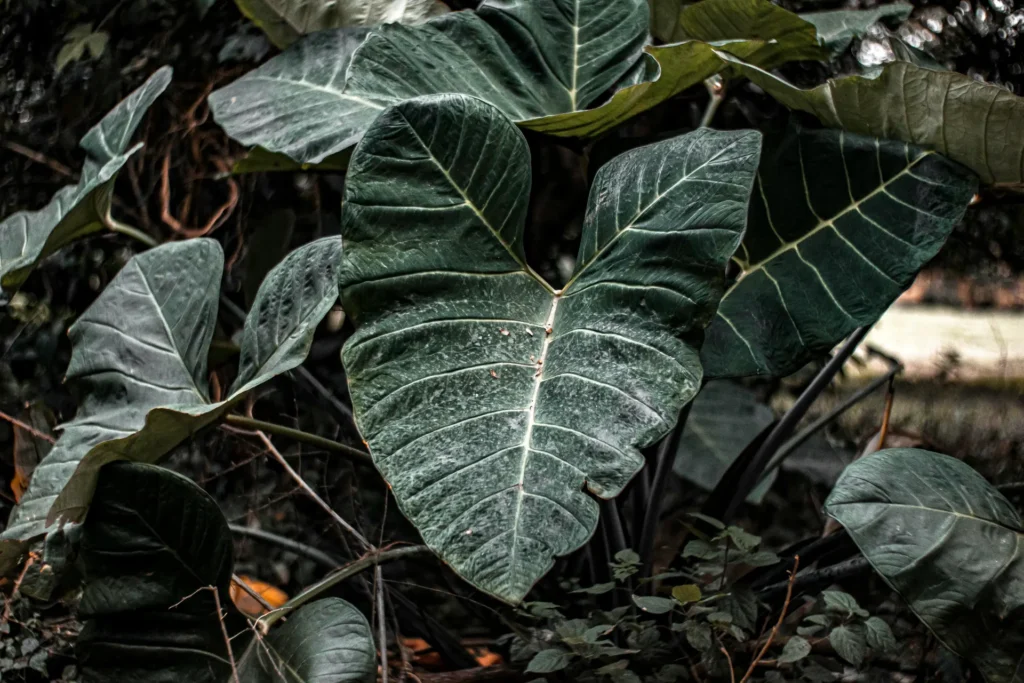
One of the most important aspects of Alocasia care is providing the right amount of light. These plants naturally grow under the canopy of larger trees in tropical rainforests, where they receive filtered light rather than direct sunlight.
1. Bright, Indirect Light
- Ideal Lighting: Alocasias thrive in bright, indirect light. A location near an east or north-facing window is often ideal, as it provides sufficient light without the intensity that can scorch the leaves.
- Filtered Sunlight: If you only have south or west-facing windows, it’s best to diffuse the light with sheer curtains to protect the leaves from burning.
- Avoid Low Light: While Alocasias can tolerate lower light conditions, they will not thrive. In low light, you may notice slower growth, smaller leaves, and less vibrant colors.
2. Supplemental Lighting
- Artificial Lighting: If your home lacks sufficient natural light, you can supplement with fluorescent or LED grow lights. Place the light source about a foot above the plant and leave it on for 8-12 hours a day to mimic natural daylight conditions.
Watering Your Alocasia
Watering can be one of the trickiest aspects of Alocasia care. These plants like their soil to be consistently moist but not waterlogged, which requires careful monitoring.
1. Watering Schedule
- Regular Watering: During the growing season (spring and summer), water your Alocasia regularly, ensuring that the soil remains evenly moist. Depending on the environment, this might mean watering once a week or more frequently if the plant is in a warmer or drier location.
- Less Frequent in Dormancy: In the fall and winter, when the plant enters a dormant phase and growth slows down, reduce watering. Allow the top 1-2 inches of soil to dry out before watering again.
2. Proper Watering Techniques
- Water Thoroughly: When watering, make sure to water thoroughly until the excess water drains out of the bottom of the pot. This helps to flush out any salts or minerals that can build up in the soil and harm the plant.
- Avoid Waterlogged Soil: Never let the plant sit in standing water, as this can lead to root rot. Empty the saucer under the pot after watering to prevent water from accumulating.

Soil and Potting for Alocasia
Choosing the right soil and pot is crucial to ensure your Alocasia has a well-draining environment that prevents water retention, which can be detrimental to its roots.
1. Soil Requirements
- Well-Draining Mix: Alocasias prefer a rich, well-draining potting mix. A combination of regular potting soil, peat moss, and perlite or orchid bark works well to provide both moisture retention and drainage.
- pH Level: These plants thrive in slightly acidic to neutral soil, with a pH range of 5.5 to 7.0. You can test your soil’s pH with a simple home test kit and adjust it if necessary.
2. Choosing the Right Pot
- Drainage Holes: Ensure your pot has adequate drainage holes to allow excess water to escape. This is essential to prevent root rot.
- Size of the Pot: Choose a pot that is proportional to the size of the plant. Alocasias like to be somewhat root-bound, so avoid using an overly large pot. Repotting is generally only necessary every 1-2 years, or when the plant outgrows its container.

Temperature and Humidity
Being tropical plants, Alocasias have specific temperature and humidity needs that must be met to keep them healthy.
1. Temperature
- Ideal Temperature Range: Alocasias thrive in warm temperatures, ideally between 65-80°F (18-27°C). They do not tolerate cold well and should be kept in a stable environment away from drafts, air conditioning vents, or heaters.
- Cold Sensitivity: Avoid exposing your Alocasia to temperatures below 60°F (15°C), as cold drafts can cause the leaves to droop and the plant to become stressed.
2. Humidity
- High Humidity: Alocasias prefer high humidity levels, typically above 60%. In dry indoor environments, especially during winter when heating systems are running, the air can become too dry for these plants.
- Humidity Solutions: Increase humidity by placing the pot on a humidity tray filled with water and pebbles, using a room humidifier, or misting the plant regularly with water. Grouping plants together can also help to create a more humid microenvironment.
Fertilizing Your Alocasia
Regular fertilization during the growing season can help your Alocasia maintain its vibrant foliage and encourage new growth.
1. Type of Fertilizer
- Balanced Fertilizer: Use a balanced, water-soluble fertilizer with an equal ratio of nitrogen, phosphorus, and potassium (such as a 20-20-20 formula) to feed your Alocasia. This will support leaf development and overall plant health.
- Organic Fertilizer: Alternatively, you can use organic fertilizers like compost tea or worm castings, which provide a slow release of nutrients and improve soil health over time.
2. Fertilizing Schedule
- Growing Season: Fertilize your Alocasia every 2-4 weeks during the spring and summer when the plant is actively growing. Dilute the fertilizer to half the recommended strength to avoid over-fertilizing, which can burn the roots.
- Dormant Season: Reduce or stop fertilizing in the fall and winter when the plant’s growth naturally slows down. Over-fertilizing during dormancy can lead to nutrient build-up and damage the plant.
Pruning and Maintenance
Regular maintenance helps keep your Alocasia looking its best and prevents the spread of disease.
1. Pruning
- Remove Dead Leaves: As part of regular care, remove any yellowing or dead leaves by cutting them off at the base with clean, sharp scissors or pruning shears. This encourages the plant to direct its energy towards healthy growth.
- Control Size: If your Alocasia grows too large for its space, you can trim back some of the larger leaves. However, be cautious not to remove too many leaves at once, as this can stress the plant.
2. Cleaning the Leaves
- Dusting: Alocasia leaves can accumulate dust, which can block sunlight and reduce photosynthesis. Gently wipe the leaves with a damp cloth every few weeks to keep them clean and shiny.
- Avoid Leaf Shine Products: While it might be tempting to use leaf shine products, they can clog the pores of the leaves and do more harm than good. Stick to using plain water for cleaning.
Common Alocasia Problems and Solutions
While Alocasias are beautiful, they can be prone to certain issues if not properly cared for. Here’s how to troubleshoot some common problems.
1. Yellowing Leaves
- Overwatering: Yellowing leaves are often a sign of overwatering or poor drainage. Check the soil moisture and adjust your watering schedule accordingly.
- Natural Leaf Drop: It’s also normal for Alocasias to drop older leaves as new ones emerge. If only one or two leaves are affected, it may simply be a natural part of the plant’s growth cycle.
2. Drooping Leaves
- Water Stress: Drooping leaves can be a sign of either too much or too little water. Ensure the soil is evenly moist but not waterlogged.
- Low Light: Insufficient light can also cause the leaves to droop. Move the plant to a brighter location and monitor for improvement.
3. Pests
- Spider Mites and Aphids: Alocasias can attract common houseplant pests like spider mites, aphids, and scale. Regularly inspect your plant for signs of pests, such as small webs, sticky residue, or discolored spots on the leaves.
- Treatment: If pests are present, treat the plant with insecticidal soap, neem oil, or a homemade solution of water and mild dish soap. Isolate the plant during treatment to prevent the pests from spreading to other plants.
Conclusion
Alocasias are stunning plants that can bring a touch of the exotic into your home. While they require a bit more attention and care than some other houseplants, their dramatic foliage and bold presence make them well worth the effort. By providing the right light, water, temperature, and humidity, you can help your Alocasia thrive and enjoy its beauty for years to come.
Whether you’re an experienced plant enthusiast or a beginner looking for a challenge, Alocasia offers a rewarding experience and a striking addition to any indoor garden. With the right care and attention, your Alocasia will grow into a healthy, vibrant plant that will be a conversation starter and a centerpiece in your home.

Leave a Reply