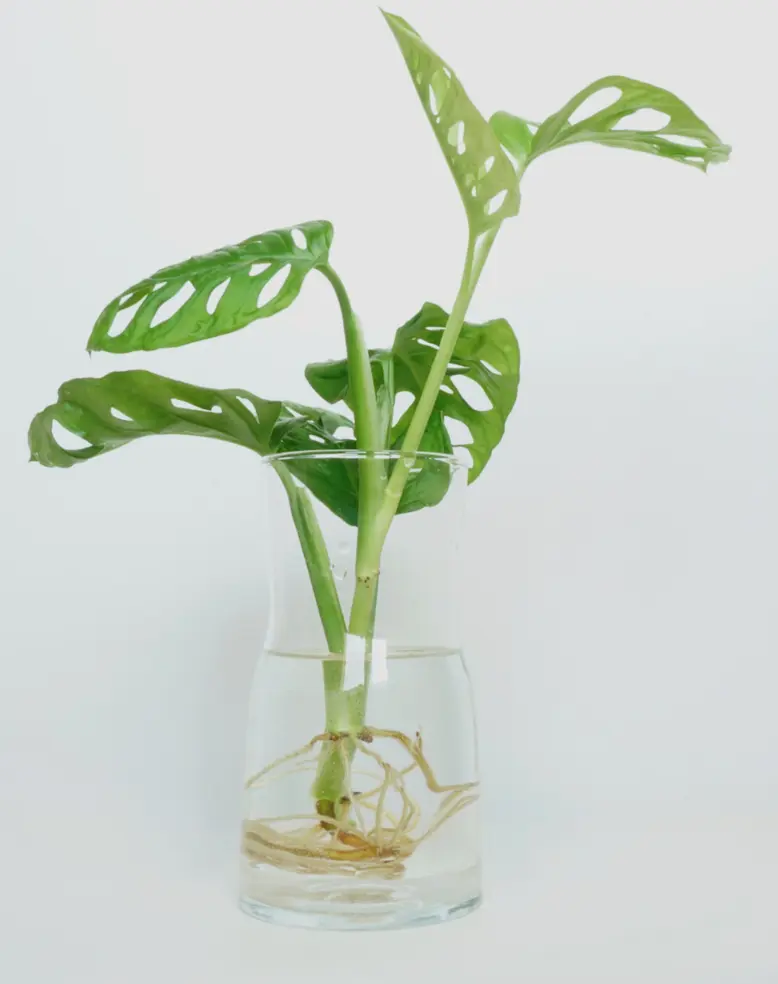
Monstera Deliciosa, also known as the Swiss Cheese Plant, is a beloved houseplant known for its large, fenestrated leaves. Propagating Monstera through water is a popular method among plant enthusiasts because it’s straightforward and offers a chance to observe root development. In this comprehensive guide, we’ll delve into everything you need to know about Monstera water propagation, from selecting the right cutting to transitioning your new plant to soil.

Why Propagate Monstera in Water?
Water propagation has several benefits:
- Visibility: You can see the roots develop, which is both fascinating and helpful in monitoring growth.
- Ease: It requires minimal equipment and effort.
- Success Rate: Water propagation has a high success rate, especially for beginners.
Understanding these advantages sets the stage for a successful propagation journey.

Selecting the Right Cutting
Choosing the right cutting is crucial for successful propagation. Here’s what to look for:
Identifying a Healthy Stem
- Healthy Leaves: Ensure the stem has at least one healthy leaf.
- Node: The node is a small bump where roots will emerge. It’s essential for propagation.
- Aerial Roots: While not necessary, a cutting with aerial roots can accelerate the rooting process.

Cutting the Stem
- Sterilize Tools: Use clean, sharp scissors or pruning shears.
- Make the Cut: Cut just below a node, ensuring the cutting is 6-8 inches long.
A well-chosen cutting sets the foundation for healthy root development.

Preparing for Water Propagation
Setting Up
- Container: Choose a clear glass jar or vase.
- Water: Use room temperature, non-chlorinated water.
Placing the Cutting
- Submerge the Node: Place the cutting in water, ensuring the node is submerged but leaves are not.
- Stability: Ensure the cutting is stable and upright.
Setting up correctly ensures optimal conditions for root growth.

Caring for Your Monstera Cutting
Changing the Water
- Frequency: Change the water every 3-5 days to prevent stagnation and algae growth.
- Cleanliness: Rinse the container with each water change.
Light Requirements
- Indirect Light: Place the jar in a location with bright, indirect sunlight.
- Avoid Direct Sun: Direct sunlight can scorch the cutting and heat the water excessively.
Proper care during this stage is crucial for successful propagation.

Monitoring Root Development
Signs of Root Growth
- Initial Roots: Tiny white roots should appear within 1-2 weeks.
- Growth Progress: Roots should grow to 2-4 inches before transitioning to soil.
Troubleshooting
- No Roots: If no roots appear after a few weeks, check the cutting for rot and ensure it’s in optimal light.
- Rotting Cutting: If the cutting shows signs of rot (brown, mushy tissue), trim the rotten part and change the water more frequently.
Monitoring helps ensure the cutting is on track to become a healthy plant.

Transitioning from Water to Soil
When to Transition
- Root Length: Wait until roots are 2-4 inches long.
- New Growth: Presence of new leaves or growth points indicates the cutting is ready for soil.
Preparing the Soil
- Soil Mix: Use a well-draining potting mix suitable for Monstera, such as a mix of peat, perlite, and pine bark.
- Pot: Choose a pot with drainage holes.
Planting the Cutting
- Moist Soil: Moisten the soil before planting.
- Planting Depth: Plant the cutting so the roots are buried and the node is just above the soil surface.
- Watering: Water the soil lightly to settle it around the roots.
Transitioning correctly ensures the cutting adapts well to its new environment.

Post-Transition Care
Watering
- Initial Watering: Keep the soil consistently moist but not waterlogged for the first few weeks.
- Regular Watering: Once established, water when the top inch of soil feels dry.
Light and Humidity
- Light: Continue to provide bright, indirect light.
- Humidity: Monstera thrives in high humidity. Consider using a humidifier or placing the plant on a pebble tray.
Fertilizing
- Wait a Few Months: Avoid fertilizing immediately after transitioning. Start fertilizing after 2-3 months.
- Balanced Fertilizer: Use a balanced, water-soluble fertilizer diluted to half strength.
Proper post-transition care is vital for the new plant to thrive and grow robustly.

Common Problems and Solutions
Yellowing Leaves
- Overwatering: Ensure the soil is well-draining and not waterlogged.
- Nutrient Deficiency: Consider using a balanced fertilizer if the plant shows no signs of improvement.
Wilting
- Underwatering: Check the soil moisture and increase watering frequency if necessary.
- Environmental Stress: Ensure the plant is in a stable environment with consistent light and humidity.
Slow Growth
- Light: Ensure the plant is receiving adequate light.
- Temperature: Keep the plant in a warm environment, ideally between 65-85°F (18-29°C).
Understanding common issues and their solutions helps maintain a healthy plant.

Conclusion
Monstera water propagation is an engaging and rewarding process that allows you to expand your plant collection or share the joy of gardening with friends. By following the steps outlined in this guide, you’ll ensure a high success rate and grow beautiful, healthy Monstera plants. Whether you’re a seasoned plant parent or a beginner, water propagation offers a fascinating glimpse into the world of plant growth and development. Happy propagating!

Leave a Reply